Cats are known for being clean, but there’s one spot they can’t groom properly: their ears.
At PawBasic, we’ve seen how overlooked ear care leads to infections, irritation, and vet bills. This quick guide breaks down why cat ear cleaning matters and how Mississauga cat owners can keep those ears healthy between grooming appointments.
Why Ear Cleaning Is Important for Cats
Cats – especially breeds with folded ears, allergies, or long fur – are prone to:
- Ear wax buildup
- Ear mites
- Yeast infections
- Scratching or head shaking
Left untreated, these issues can cause serious discomfort and even hearing damage.
Signs Your Cat’s Ears Need Attention
Keep an eye out for:
- Brown or black waxy debris
- Foul odour
- Head tilting
- Excessive scratching
Note: If you see pus or blood, contact a vet first. Don’t attempt DIY cleaning in these cases.
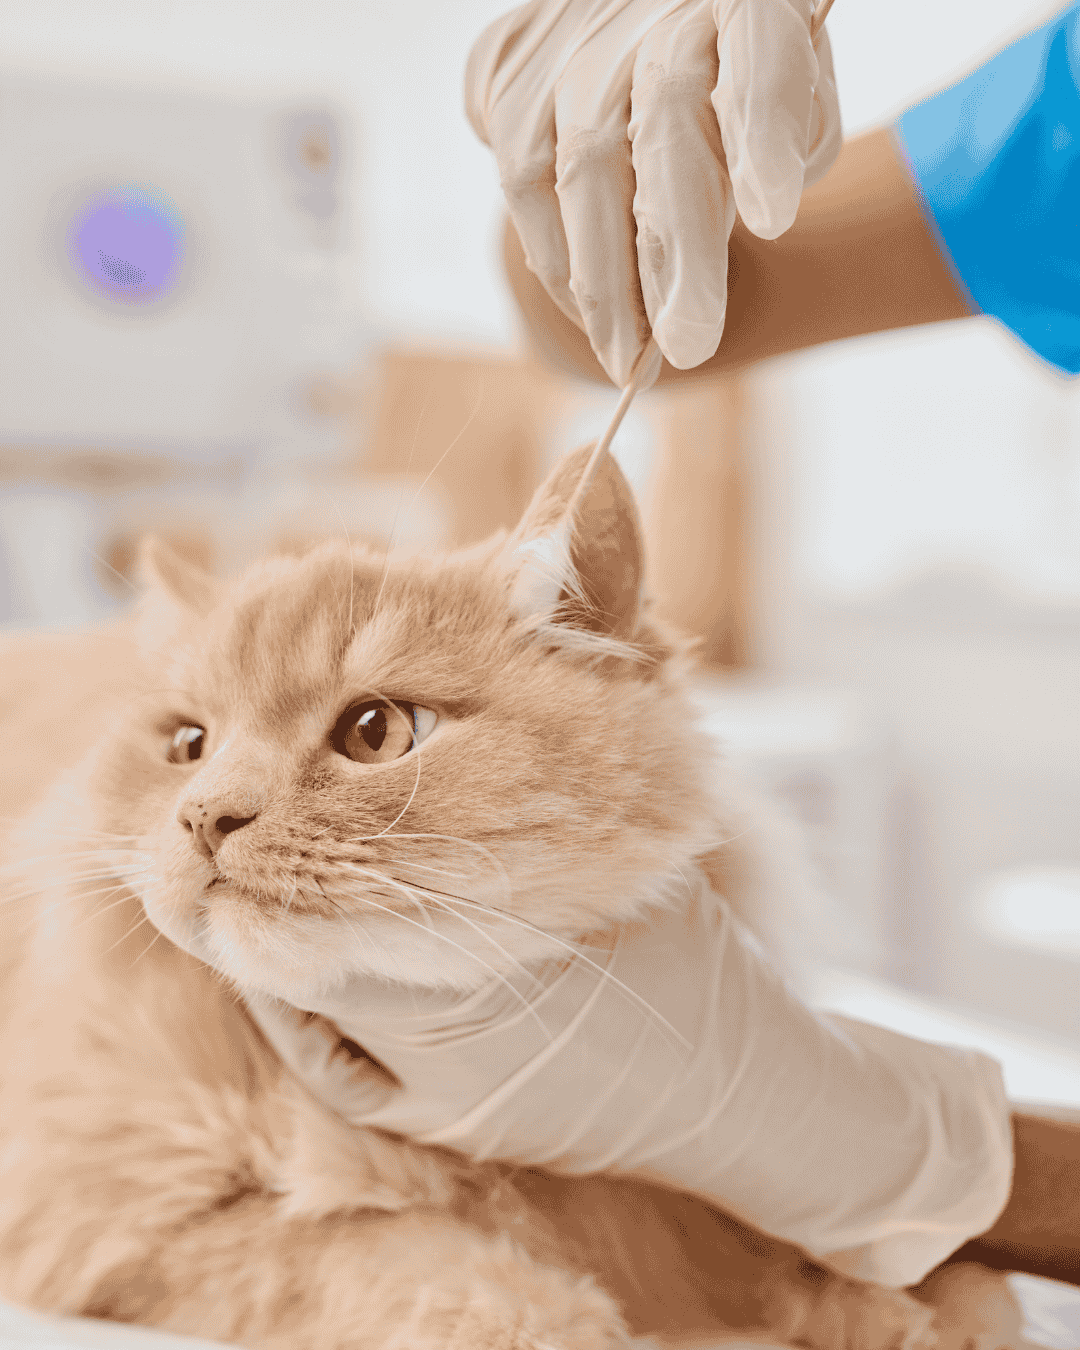
How We Clean Cat Ears at PawBasic
Our cat grooming specialists in Mississauga are trained to:
- Use vet-safe, alcohol-free ear cleaning solutions
- Gently massage the base of the ear
- Wipe away debris with sterile gauze
- Avoid deep insertion or cotton swabs (never go into the ear canal!)
We always observe your cat’s comfort level and stop if they’re too stressed. Safety > speed.
Can You Clean Your Cat’s Ears at Home?
Yes – but only if your cat is calm and the ears show minor buildup. Use:
- Soft cotton pads or gauze (never Q-tips)
- Pet-safe ear cleaner (ask your groomer or vet)
If your cat resists or scratches, it’s best to let the pros handle it.
Why Mississauga Pet Owners Trust PawBasic
Our salon at 18 King St E in Cooksville is known for gentle, effective grooming – especially for cats with special needs. We proudly serve pet parents in Hurontario, Square One, and beyond.
➡️ Read Our 4.9-Star Google Reviews
Book a Cat Grooming Appointment with Ear Cleaning Today
Don’t let dirty ears become a big problem. Add ear cleaning to your next grooming visit.